
To master underwater photography in New Zealand, photographers must adapt to temperate, nutrient-rich conditions by utilizing higher ISO settings to compensate for low light and employing magenta filters or manual white balance to correct the dominant green color cast. Success relies on getting physically close to subjects to minimize backscatter and mastering strobe positioning to illuminate the unique marine biodiversity found in reserves like Goat Island.
Managing Low Light and Visibility in Temperate Waters
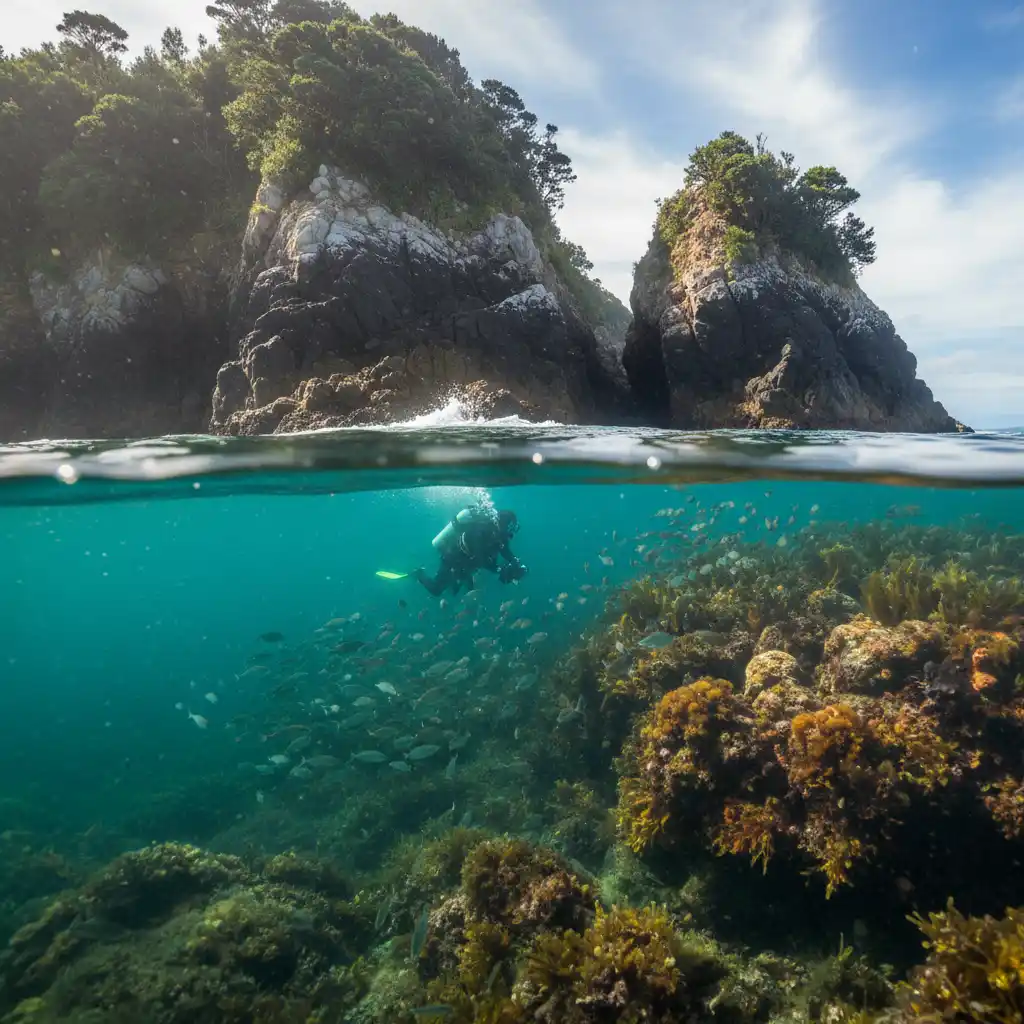
New Zealand’s marine environment differs significantly from the crystal-clear waters of the tropics. While the nutrient-rich water supports an incredible density of marine life, it presents unique challenges regarding light penetration and visibility. The suspended particulate matter (plankton) that feeds the ecosystem also absorbs light and creates a darker environment, even at shallow depths.

Optimizing ISO and Shutter Speed
In the temperate waters of New Zealand, specifically around the Poor Knights Islands or the Hauraki Gulf, ambient light drops off rapidly. To counter this without introducing excessive digital noise, modern underwater photographers must find a balance in their exposure triangle.
- ISO Sensitivity: Unlike tropical diving where ISO 100 or 200 is standard, NZ waters often require a baseline of ISO 400 to 800. This increase allows for faster shutter speeds to freeze the motion of swaying kelp and moving fish.
- Shutter Speed: To capture sharp images of Triplefins or Demoiselles, aim for a shutter speed of at least 1/125th of a second. If shooting wide-angle scenes involving sunbursts, you may need to increase this to 1/250th to control the highlights near the surface.
- Aperture: While a wide aperture (f/2.8 – f/4) lets in more light, it reduces depth of field. For wide-angle scenic shots, try to maintain f/8 to ensure corner sharpness, relying on your ISO and strobes to provide the necessary exposure.
The “Get Close” Rule
Visibility in New Zealand can range from 20 meters on a perfect day to less than 5 meters during plankton blooms. The golden rule of underwater photography—”get close, then get closer”—is critical here. By reducing the amount of water column between your lens and the subject, you increase contrast, color saturation, and sharpness.
For wide-angle photography, this means using a fisheye lens and positioning yourself within centimeters of the subject. This technique effectively removes the “haze” caused by suspended particles and ensures your artificial light source can reach the subject before being absorbed by the water.
Color Correction for Green Water Environments
One of the most distinct characteristics of New Zealand diving is the water color. While tropical water filters red light leaving a blue cast, the high chlorophyll content in NZ waters acts as a green filter. This affects how cameras perceive color and requires specific correction techniques.
Why Magenta Filters Matter
Standard red filters are designed for blue water (cyan absorption). In New Zealand’s green water, a red filter can sometimes result in an unnatural reddish-brown hue. Instead, a magenta filter is often the superior choice for ambient light photography. Magenta sits opposite green on the color wheel, effectively neutralizing the green cast and restoring natural skin tones and reef colors.
Manual White Balance Techniques
For the most accurate color, relying on Auto White Balance (AWB) is risky, as the camera often struggles to compensate for the heavy green saturation. Advanced photographers should utilize Manual White Balance (MWB).
- The Slate Method: Carry a white slate or use the palm of your hand (if not wearing black gloves).
- The Process: Point your camera at the white reference object at the depth you intend to shoot. Fill the frame and set the custom white balance.
- Depth Changes: Remember to re-calibrate every time you change depth by more than 3-5 meters, as the spectral filtering of the water changes with pressure and depth.
If shooting in RAW (which is highly recommended), you have significant latitude to adjust white balance in post-processing. However, getting it right in-camera provides a better histogram reading, ensuring you aren’t clipping color channels.
Macro Photography Subjects at Goat Island
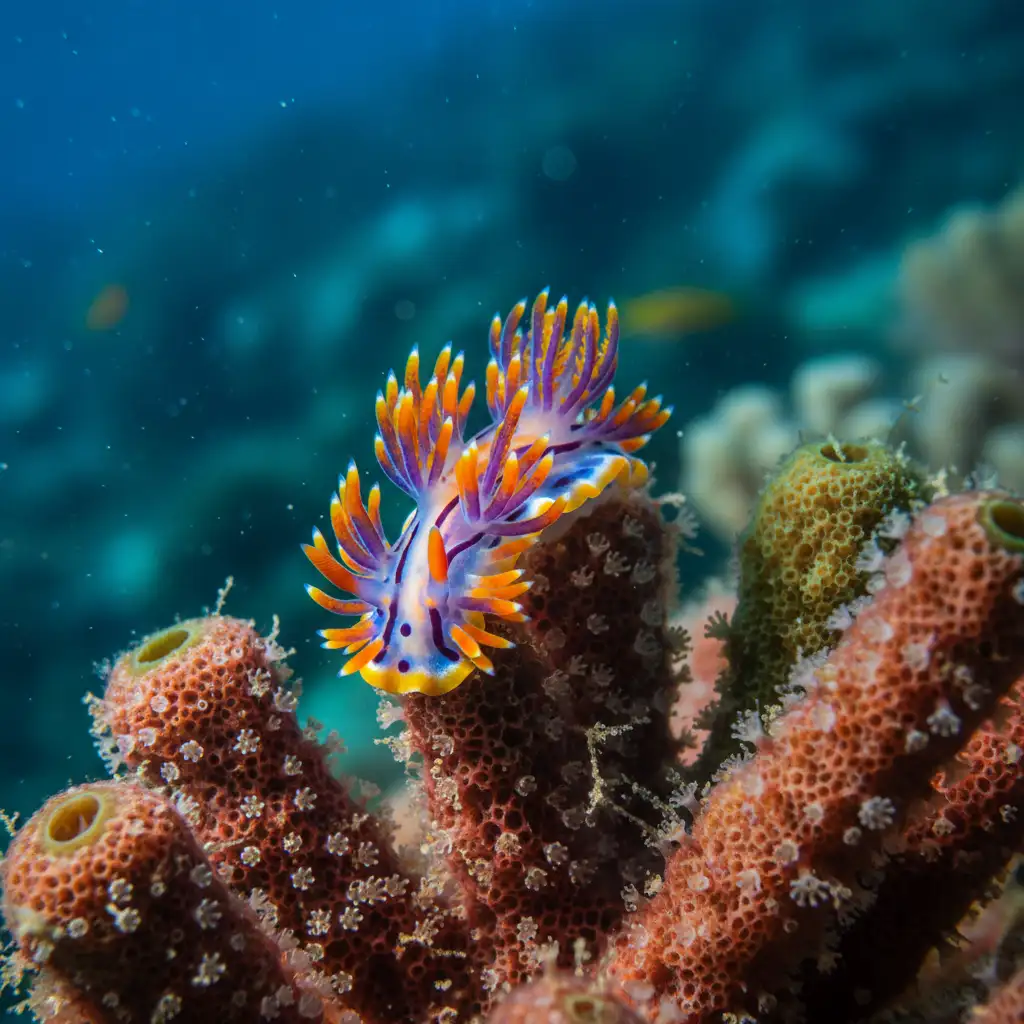
Goat Island (Te Hāwere-a-Maki) is New Zealand’s oldest marine reserve and a haven for macro photographers. The protection from fishing has allowed the ecosystem to flourish, creating a dense tapestry of life perfect for macro lenses (60mm or 100mm equivalent).
Top Macro Subjects
Nudibranchs: New Zealand is home to a variety of colorful sea slugs. Look for Jason’s Mirabilis, often found on hydroids, or the clowns of the sea, the Tambja verconis. These subjects move slowly, allowing photographers time to compose the perfect shot.
Triplefins and Blennies: These small fish are abundant on the rocky reefs. They are territorial and curious, often perching on rocks and looking directly into the lens. The key to photographing them is patience; approach slowly and let the fish become accustomed to your presence.
Anemones and Sponges: The walls and overhangs at Goat Island are covered in Jewel Anemones. These make excellent subjects for abstract photography or background textures. Look for the commensal shrimp that often live within the tentacles.
Focusing Techniques for Macro
In the surge often present at Goat Island, maintaining focus on a tiny subject can be difficult.
- Lock Focus: Use back-button focus to lock your focus distance, then gently rock your body back and forth with the surge, firing the shutter exactly when the subject enters the focal plane.
- Diopters: For super-macro subjects like tiny nudibranchs, consider using a wet diopter (magnifying lens) that screws onto the front of your port. This reduces the minimum focus distance, allowing for frame-filling shots of subjects smaller than a fingernail.
Strobe vs. Video Light Settings
Lighting is the single most important factor in underwater photography tips for NZ waters. The choice between strobes (flash) and video lights (constant) depends on your subject and experience level, but managing backscatter is the universal challenge.
Strobe Positioning for Murky Water
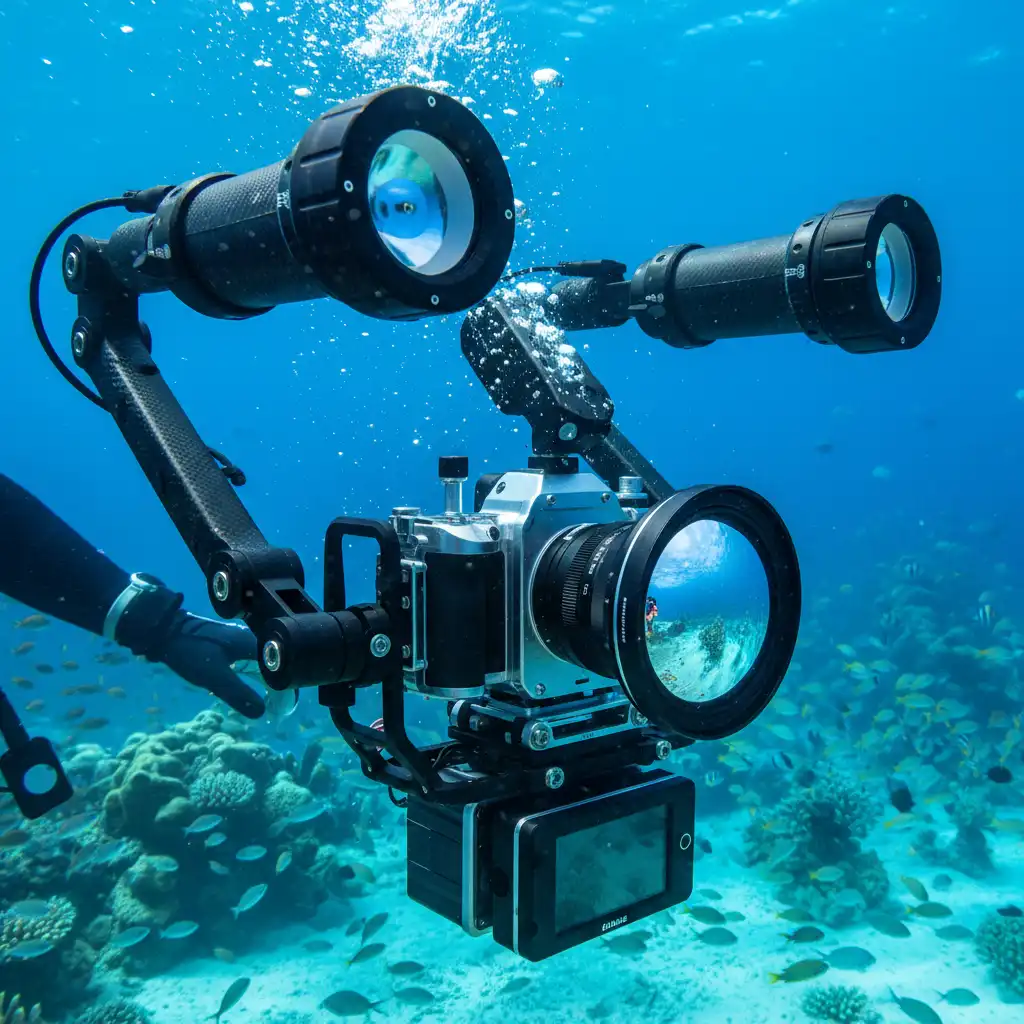
Backscatter occurs when light reflects off particles suspended in the water and bounces back into the lens. In New Zealand’s nutrient-rich water, this is a constant battle.
The Solution: Extend your strobe arms as wide as possible. Angle the strobe heads slightly outward so that the edge of the light cone hits the subject, rather than the center of the beam. This technique, known as “edge lighting,” prevents the area directly in front of the lens from being illuminated, thereby keeping the particles invisible to the camera.
Using Video Lights
High-powered video lights (5000 lumens+) are becoming popular for photography because they allow you to see the exposure and shadows in real-time. However, in NZ waters, video lights can attract marine life, including plankton and small fish, which can swarm the light and ruin the shot.
Tip: If using video lights, turn them on only when ready to shoot, or use a red focus light to acquire focus without startling the subject or attracting swarms, then let the strobe provide the main exposure.
Equipment Care for Cold Water Diving
New Zealand waters are temperate, ranging from 12°C in winter to 22°C in summer. While not freezing, the temperature fluctuations can affect equipment.
- Battery Life: Cold water drains batteries faster. Always carry spares and keep them warm before the dive.
- O-Ring Maintenance: Temperature changes can cause materials to expand and contract. meticulous O-ring care is vital. Inspect them for sand or hair before every dive, as the dynamic shore entries common in NZ can introduce debris.
- Fogging: The temperature difference between the warm air inside the housing and the cold water can cause lens fogging. Use desiccant packs inside your housing to absorb moisture.