
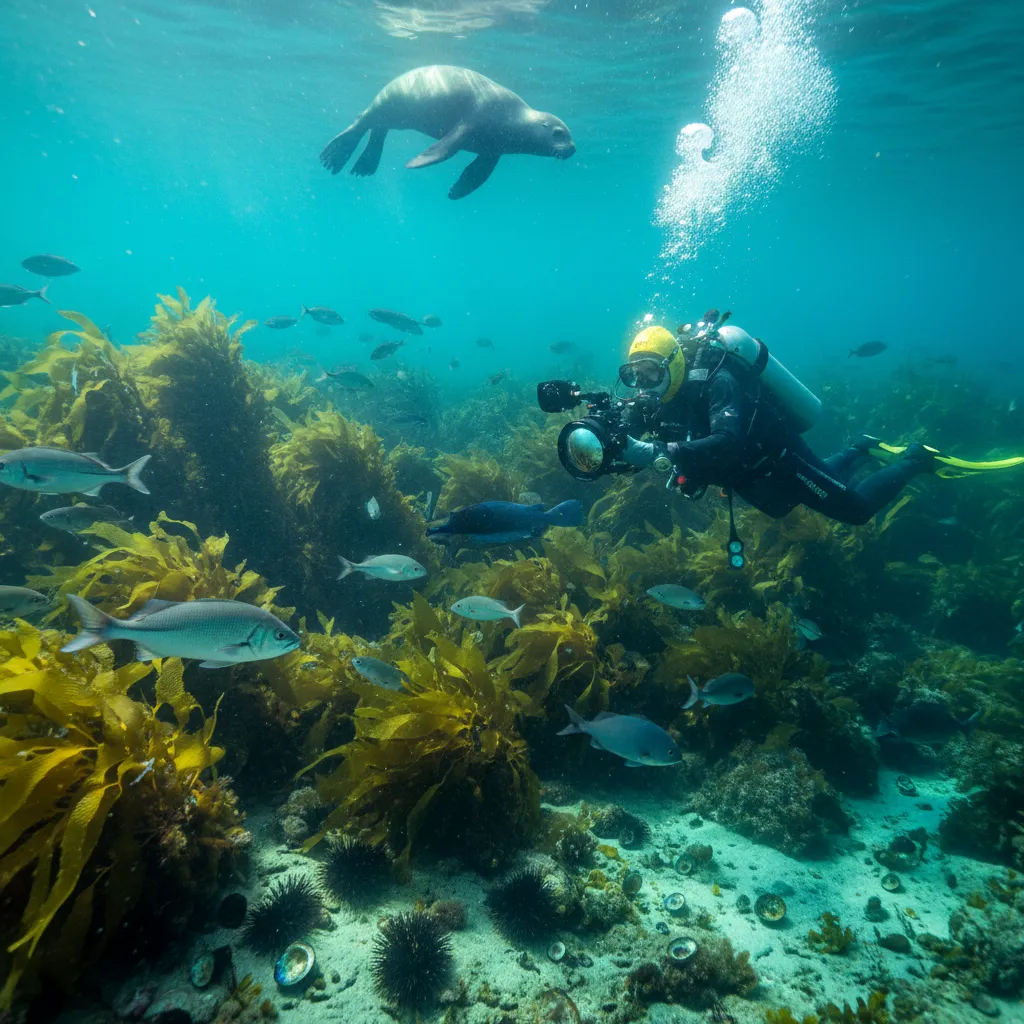
Underwater photography in New Zealand requires mastering specific techniques to handle nutrient-rich, temperate waters often characterized by a green hue. Success depends on getting physically close to subjects to minimize backscatter, using powerful strobes to restore color lost at depth, and selecting high-ISO capable cameras to cope with lower light levels found in kelp forests and deep fjords.
Mastering the NZ Green Water Challenge
New Zealand’s marine environment is distinct from the crystal-clear blue waters of the tropics. While the tropical Pacific offers 50-meter visibility, New Zealand’s waters are temperate and nutrient-rich. This abundance of plankton supports an incredible food chain, but it presents a unique set of challenges for the underwater photographer. This is the cornerstone of any comprehensive underwater photography NZ guide: understanding the water column itself.
The primary characteristic of NZ water is its green cast. This is caused by high concentrations of phytoplankton which absorb blue and red light, reflecting green wavelengths. Furthermore, the particulate matter (turbidity) reduces visibility and creates “backscatter” when artificial light hits particles suspended between the lens and the subject.
How do you reduce backscatter in low-visibility water?
To capture crisp images in New Zealand’s nutrient-rich waters, strobe positioning is critical. Bringing your strobes out wide and angling them slightly outward ensures that the edge of the beam illuminates the subject, rather than the water directly in front of the lens. This technique is often called “edge lighting.” Furthermore, the golden rule of New Zealand underwater photography is: get close, then get closer. By reducing the amount of water column between your port and the subject, you drastically increase contrast and sharpness.
What are the best camera settings for green water?
Unlike the bright tropics, New Zealand diving often involves lower light levels, especially inside sea caves or beneath thick kelp canopies. A higher ISO is often necessary. Modern mirrorless and DSLR cameras capable of shooting cleanly at ISO 800 to 1600 are advantageous. For white balance, if you are shooting ambient light (wide angle), manual white balance is essential to counteract the green cast. However, if you are using strobes (which is recommended for 90% of NZ shooting), keep your white balance set to “Auto” or “Flash” (approx 5500K) to render the foreground colors accurately, and handle the background water color in post-production.
Essential Gear for New Zealand Conditions
The rugged nature of New Zealand’s coastline and the temperature of the water dictate specific gear requirements. Your equipment must be robust, reliable, and capable of handling cold temperatures which can sap battery life rapidly.
Why is thermal protection crucial for photography?
It might seem unrelated to camera gear, but your exposure suit is your most critical piece of photography equipment. Shaking hands result in blurry images. In the North Island, a high-quality 7mm semi-dry wetsuit may suffice in summer (18-22°C), but for the South Island or winter diving, a drysuit is indispensable. A drysuit also allows you to remain stationary for long periods while waiting for shy subjects like the Pot-bellied Seahorse without succumbing to hypothermia.
Macro vs. Wide Angle Lenses
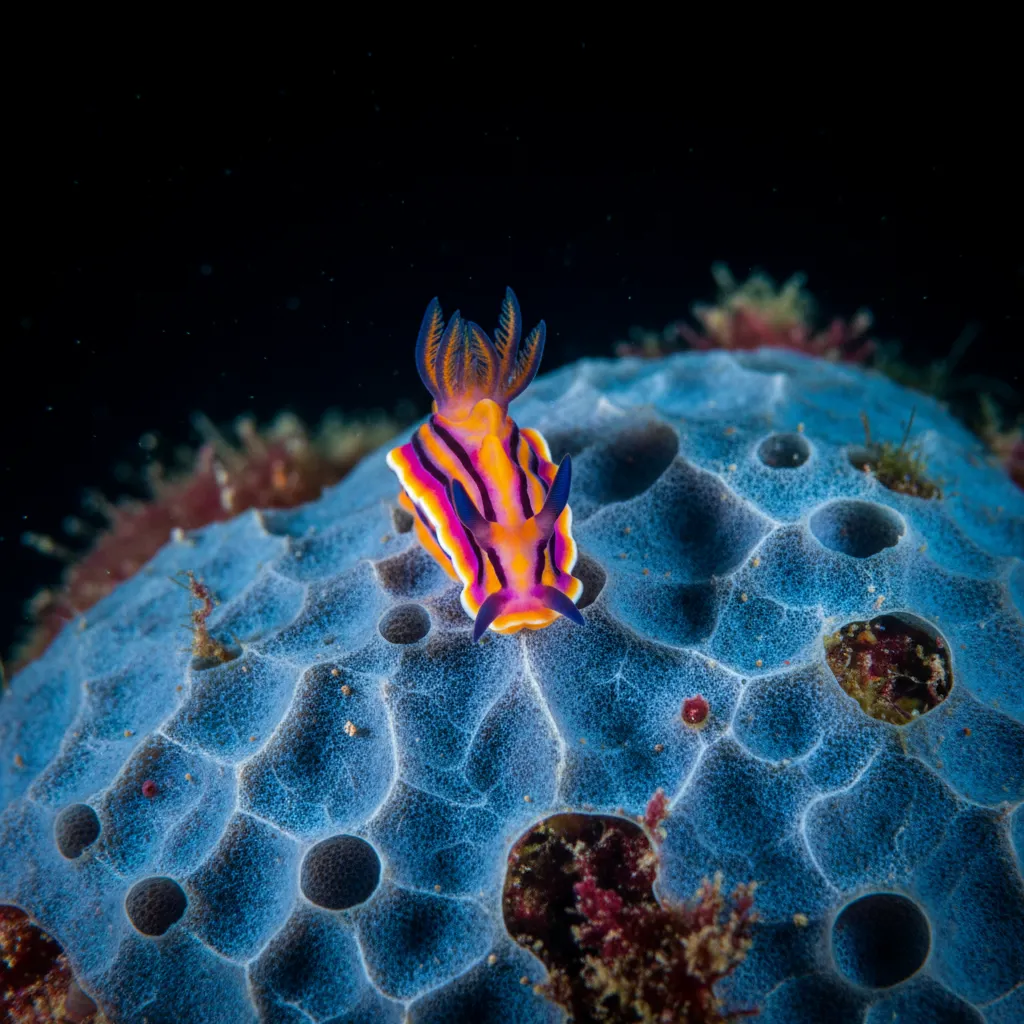
New Zealand is a macro photographer’s dream. The temperate reefs are covered in invertebrate life, including an immense variety of nudibranchs, anemones, and triplefins. A 60mm macro lens (full-frame equivalent) is a versatile workhorse, but a 100mm or 105mm macro lens is superior for shy subjects.
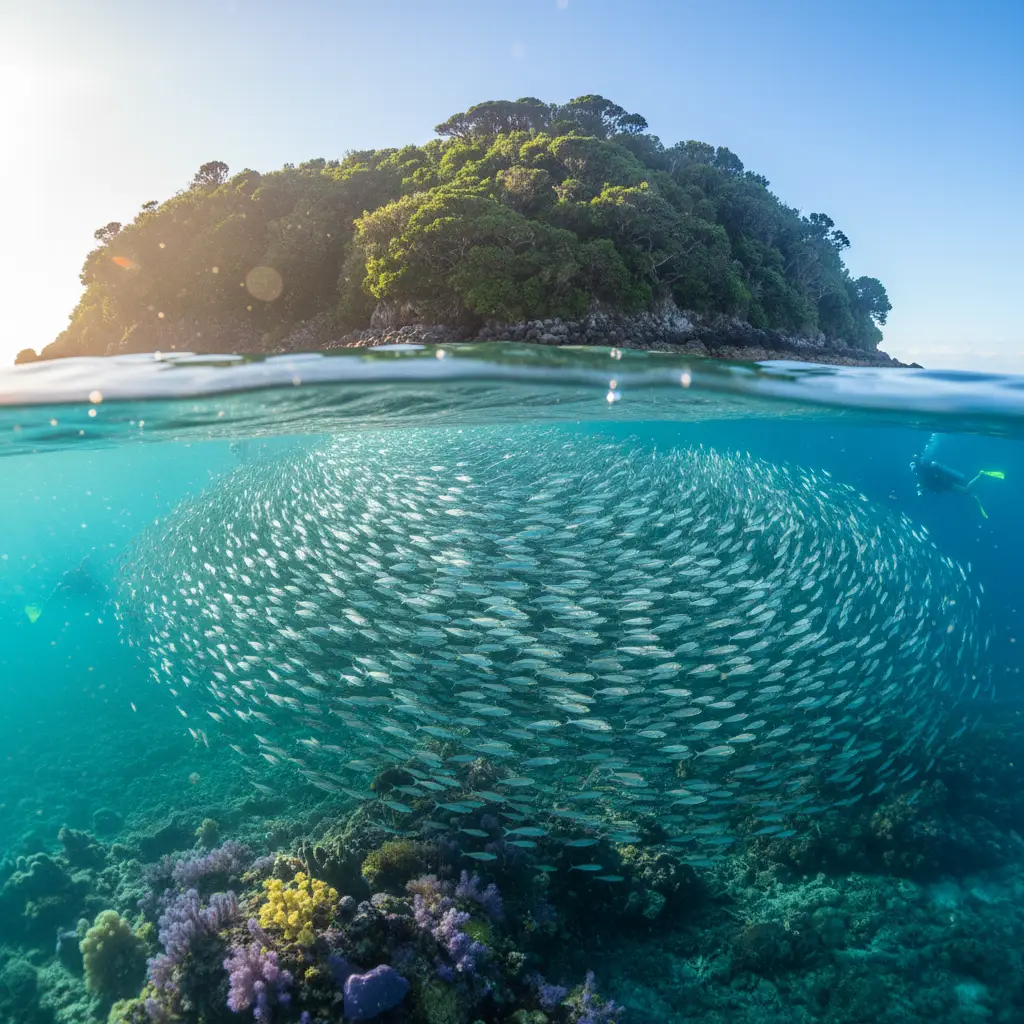
For wide-angle enthusiasts, a fisheye lens is generally preferred over a rectilinear wide-angle lens. Fisheye lenses allow you to get extremely close to large subjects—such as Stingrays or schools of Blue Maomao—while still fitting them in the frame. This proximity is the single best way to defeat poor visibility.
Top Spots: Macro vs. Wide Angle Locations
New Zealand’s geography is long and varied, offering distinct biomes for different styles of imaging. Knowing where to go is as important as knowing how to shoot.
Where are the best locations for Wide Angle photography?
The Poor Knights Islands (Northland): Consistently rated as one of the top dive sites in the world, this marine reserve offers the best visibility in the country, often exceeding 20 meters. The volcanic architecture, including the famous “Northern Arch” and “Rikoriko Cave,” demands wide-angle glass. The schooling fish life here is dense, creating dynamic backgrounds.
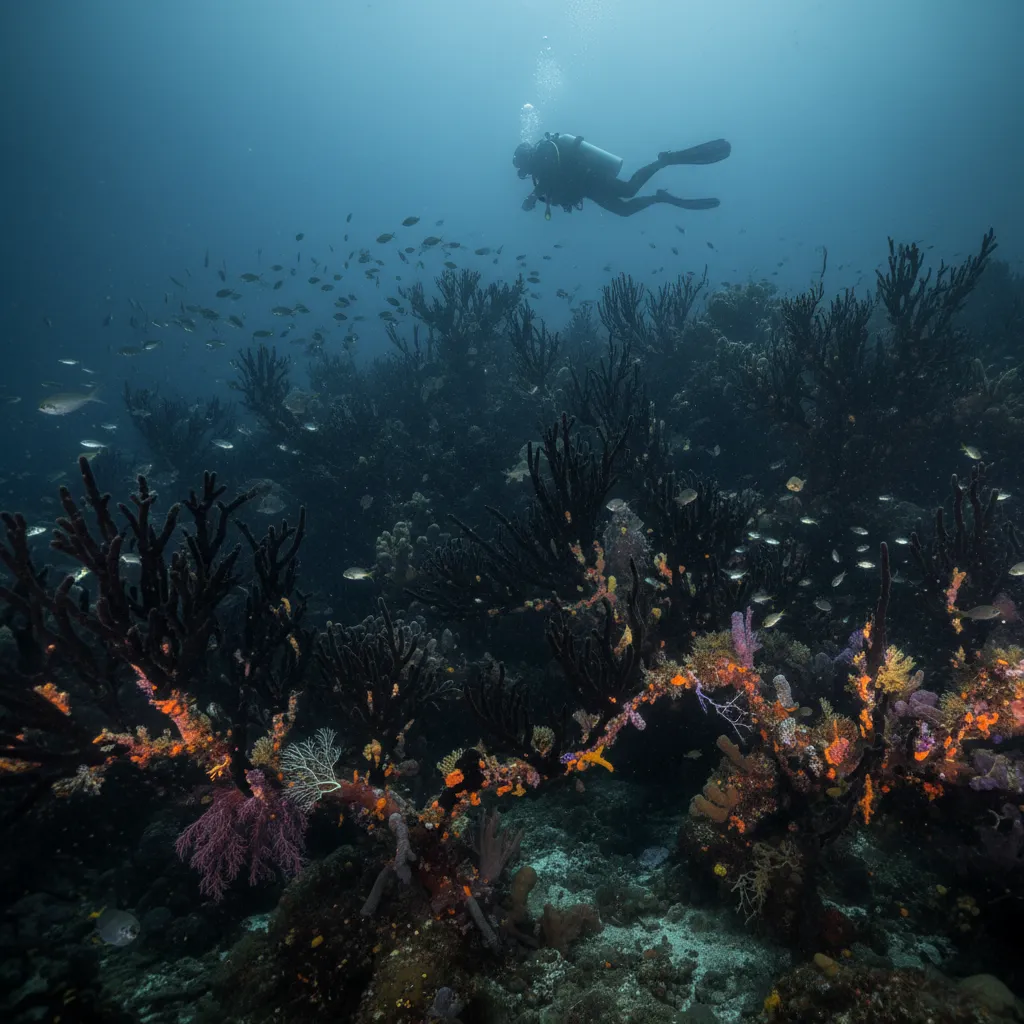
Fiordland (South Island): This is a unique environment where a permanent freshwater layer sits on top of the seawater, blocking light and tricking deep-water species into living in the shallows. Here, you can photograph Black Coral trees (which are actually white) in as little as 10 meters of depth. The dramatic cliff walls and darker waters create moody, atmospheric wide-angle opportunities.
Where are the best locations for Macro photography?
Goat Island (Leigh): As New Zealand’s oldest marine reserve, the crayfish and snapper here are large and unafraid, but the real treasure lies in the small crevices. It is an excellent spot for nudibranchs and blennies.
Aramoana Mole (Dunedin): For the hardy cold-water diver, this site is a macro haven. It is a scuttled ship graveyard that acts as an artificial reef. It is one of the best places to find Carpet Sharks and intricate kelp structures teeming with minute life.
Respecting Marine Life and Eco-Etiquette
In the market niche of NZ Marine Tourism & Education, ethical photography is not just a suggestion; it is a requirement. The integrity of the image is lost if the subject was harassed to obtain it.
How to photograph without disturbing marine life?
Buoyancy control is the primary skill of an eco-conscious photographer. In New Zealand’s rocky reefs, crashing into the bottom can damage delicate invertebrate life and stir up sediment that ruins visibility for everyone else. Photographers should master hovering motionless before bringing a camera into the water.
Lighting Ethics: Many New Zealand marine species, particularly in deep waters or caves, are sensitive to light. Avoid using high-power focus lights directly in the eyes of fish. When using strobes, limit the number of shots taken of a single subject. If a subject shows signs of stress (flaring fins, changing color, or turning away), abide by the “three-shot rule” and move on.
Manipulation: Never touch, move, or manipulate marine life to get a better composition. This is particularly relevant for macro subjects like nudibranchs. “Staging” photos is considered unethical in the professional community and can harm the mucus membranes of marine animals.
Commercial Permits and DOC Regulations
If you are shooting for personal use, social media, or editorial purposes, you generally do not need a permit. However, the landscape changes for commercial projects.
When do you need a Department of Conservation (DOC) concession?
In New Zealand, the Department of Conservation (DOC) manages public conservation land and marine reserves. If you are conducting a commercial photography operation (e.g., running a workshop, shooting for a commercial advertising campaign, or filming a documentary) within a Marine Reserve or on DOC land (which includes many islands divers land on), you likely need a concession.
The application process assesses the environmental impact of your activity. For instance, using strong artificial lights in certain sensitive areas or using drones over marine mammal sanctuaries requires specific permissions. Always check the DOC website or consult with your charter operator, as many reputable operators hold concessions that may cover their passengers for minor commercial activities, but this is not guaranteed.
Post-Processing Workflow for Temperate Waters
Shooting the image is only half the battle. The green hue of New Zealand waters often requires specific attention in post-processing tools like Adobe Lightroom or Capture One.
Correcting the “Teal/Green” Cast
Standard white balance tools often struggle with the specific cyan-green of temperate water. Instead of just warming the temperature (adding yellow), you must significantly adjust the Tint slider toward Magenta. This counteracts the green. However, be careful not to turn blue water purple. Using the HSL (Hue, Saturation, Luminance) panel to desaturate the Green channel slightly and shift the Aqua hue toward Blue can help restore a more pleasing “ocean” look without making the image look artificial.
Backscatter Removal
Even with perfect strobe positioning, NZ water will likely leave some particulate in your images. The “Dehaze” tool can be effective but use it sparingly as it adds contrast and noise. For spot removal, use the healing brush on the most distracting particles, particularly those that overlap with the subject’s eyes or dark negative space. Do not attempt to remove every speck of dust; it is part of the environment.
Frequently Asked Questions
What is the best time of year for underwater photography in NZ?
Late summer to autumn (February to May) typically offers the warmest water and the best visibility, particularly in the North Island. However, winter (June to August) often provides the clearest water due to reduced plankton blooms, provided you have adequate thermal protection.
Do I need a permit to photograph in NZ marine reserves?
For recreational photography and personal use, no permit is required. However, if the photography is for commercial gain (advertising, workshops, or major film productions), you must apply for a concession from the Department of Conservation (DOC).
What camera settings work best for schooling fish in NZ?
Schooling fish like Blue Maomao move quickly. Use a shutter speed of at least 1/125th or 1/160th of a second to freeze motion. If using strobes, ensure your sync speed is compatible. Use a mid-range aperture (f/8 to f/11) to ensure depth of field covers the school.
How do I stop my lens from fogging in cold water?
Condensation occurs when warm air inside the housing meets the cold housing port. Always set up your camera in a cool, dry environment. Use fresh desiccant packs (silica gel) inside the housing to absorb moisture. Avoid opening the housing on the boat between dives.
Is a GoPro good enough for New Zealand diving?
Yes, modern action cameras are excellent for video. For photography, they struggle in low light and lack flash power. To get good results with a GoPro in NZ, you absolutely need a powerful video light (2000+ lumens) to bring back color in the green water.
Where can I see Black Coral in shallow water?
Fiordland National Park (Milford Sound or Doubtful Sound) is the best location. Due to the heavy rainfall creating a tannic freshwater layer on the surface, deep-water species like Black Coral emerge in depths as shallow as 8-10 meters.